I can’t believe it, not only has my print shop finally launched (you can blame the pregnancy and my indecisive ways for the delay…sorry about that!), but orders have been coming in! There is always that huge fear that NO ONE will buy anything, and I had the fear, bad! But you have, and I am so eternally grateful for your support.
I have put together this blog post to give you a few tips for framing and styling up your art prints. Yes, that’s right, not all prints need to be hung on a wall! I love layering mine on sideboards, fireplaces and even on the floor. Keep reading for more on how I create interesting vignettes around my home.
There are endless options for framing your art prints, but I personally like to keep things simple. Below I share two of my go-to ways which are both quick and relatively inexpensive.
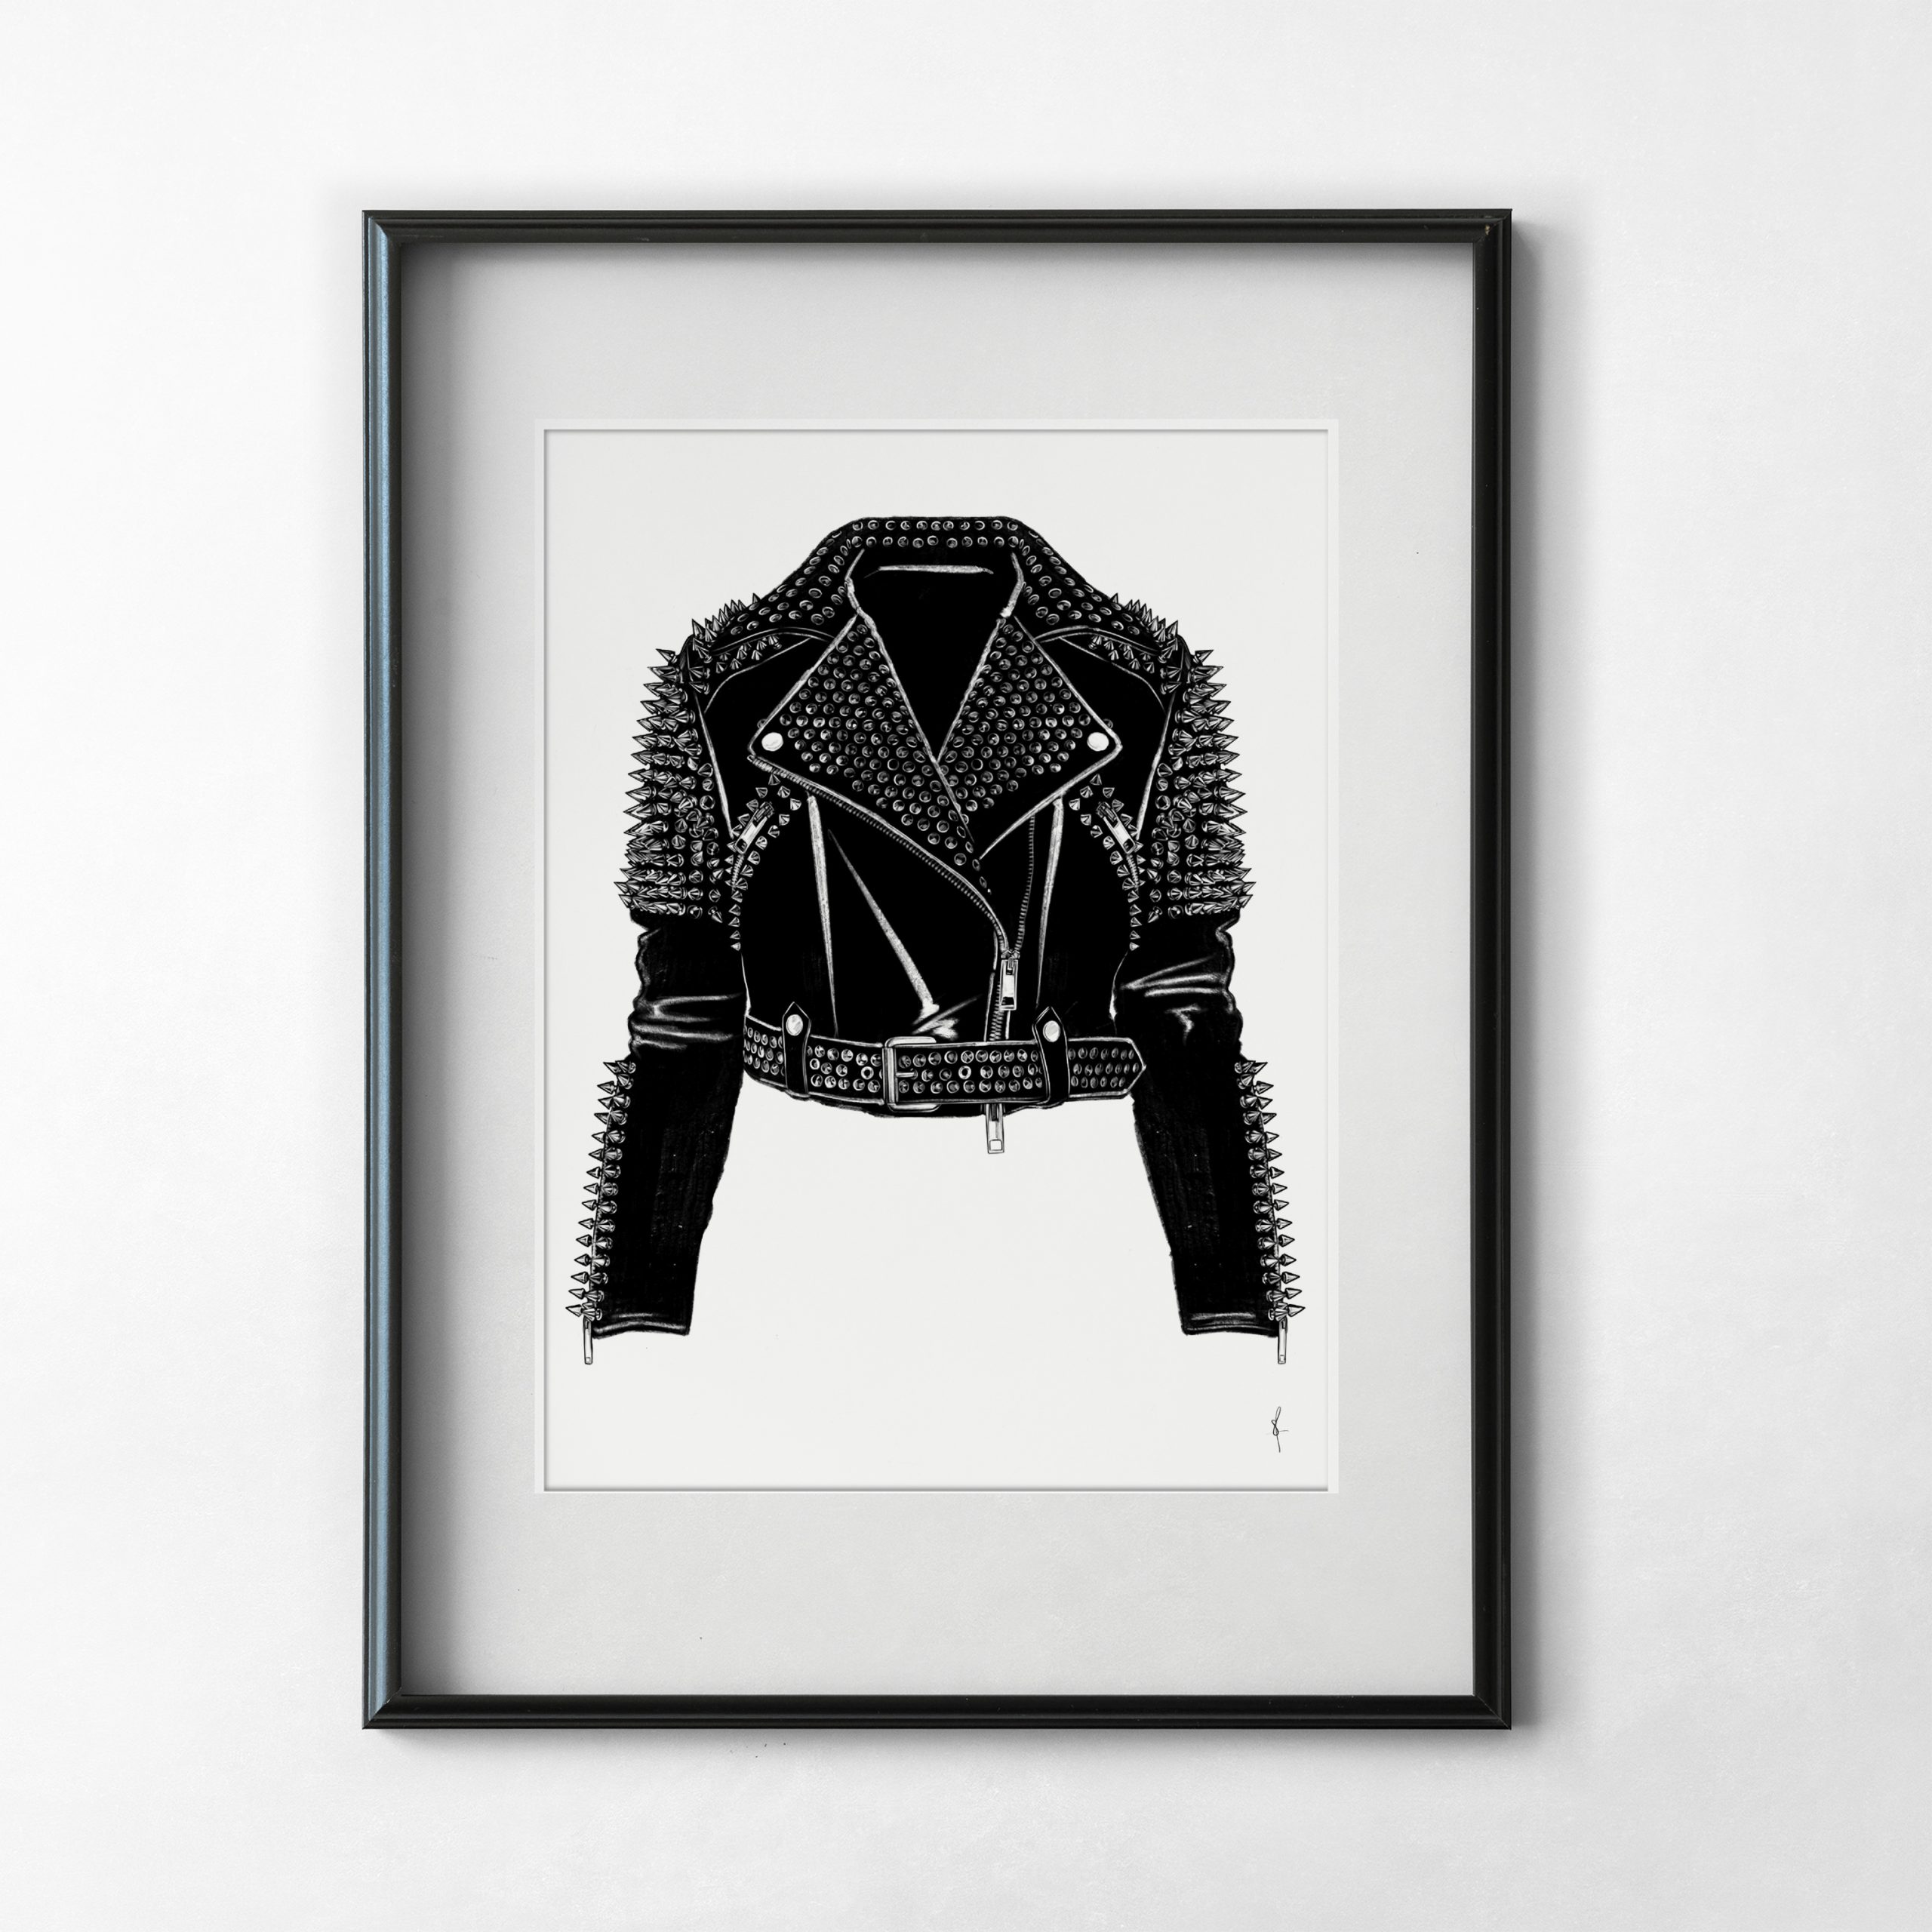
If you’ve ordered an A3 print, simply order an A3 frame. Firstly pick your desired frame colour and material. For me it’s always black, it complements the artwork and goes with our home aesthetic. I also love a slim brass frame, but you do you. As long as it’s A3 (297mm x 420mm) you’ll have the perfect fit.
One issue you may face when framing your print is stepping back and seeing your own reflection. I have been known to remove the glass or plastic completely, especially when photographing my prints (there’s a little behind the scenes insight for you!), but that’s not always ideal when you want to protect your artwork. It’s also worth remembering that my prints are fine art giclee prints that can discolour when exposed to UV light, so leaving them open to the elements isn’t ideal.
If reflections are an issue, try changing the location of your prints avoiding windows or direct light sources. Alternatively, some framers are able to supply an anti-reflective glass.
This is my favourite option as I love how it enhances the artwork and makes your print look a size bigger.

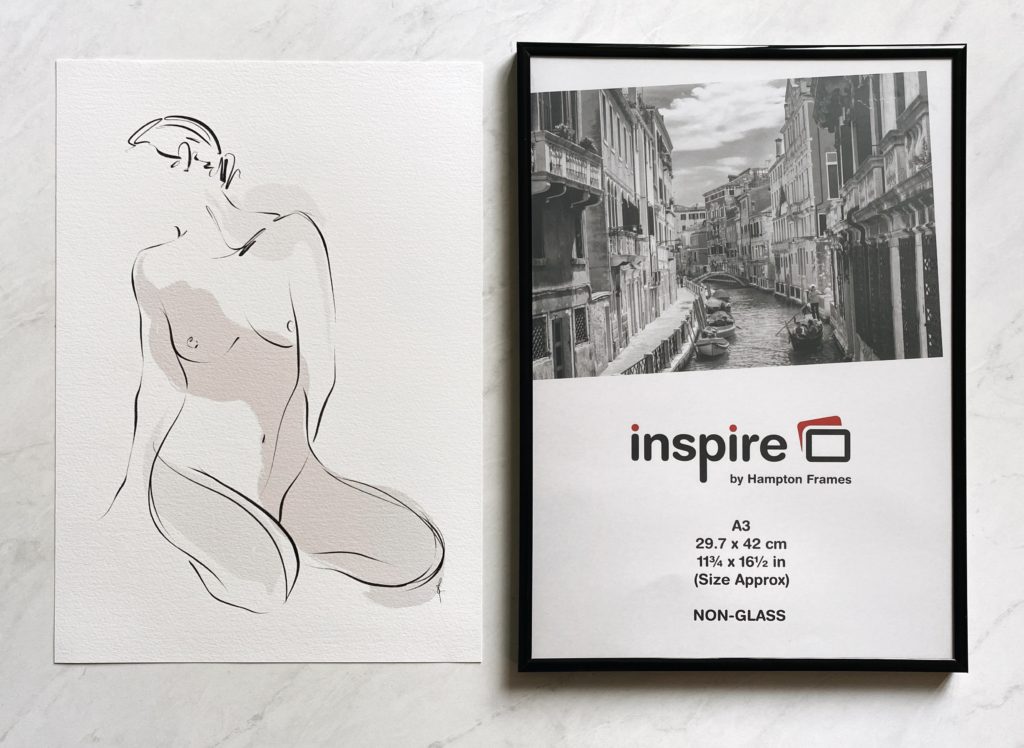
For this you will need to size up your frame. If you have purchased an A4 print you will need an A3 frame. To fill the gap you will need an A4 mount for an A3 frame. This gives a stylish and professional finish and is a great way of providing added protection. I usually opt for a plain white mount but there are endless options. Check out the single aperture mounts from eframe who have a variety of colour options available.
Now your art prints are mounted and framed it’s time to get styling. Of course we have artwork on our walls, but my favourite way to display my prints is in small vignettes around our home. Here are 5 easy ways to recreate your own vignette featuring my art prints.
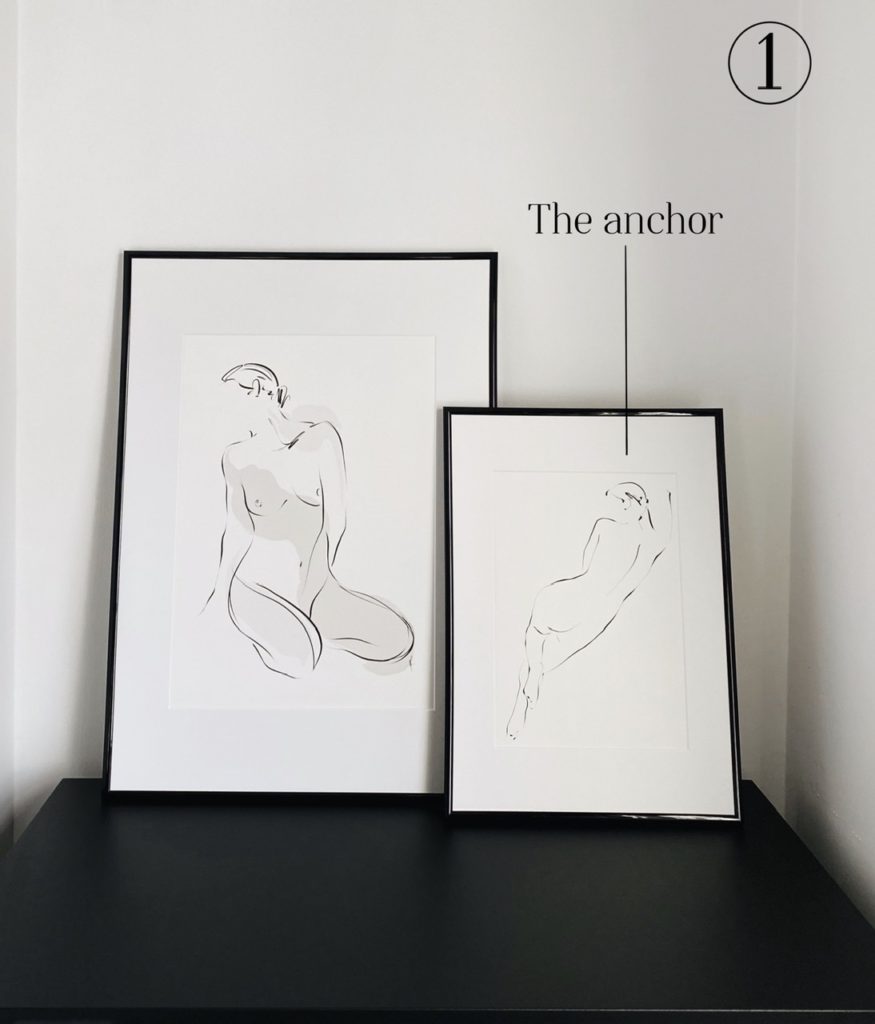
First things first, start with your print…or prints. I love layering my artwork so if space allows why not try layering an A2 with an A3.
Here I have chosen Skin I in A4 mounted in an A3 frame and Skin IV in A3 mounted in an A2 frame, two of my newest prints. This is a great anchor for your vignette as they set the tone for your colour palette.
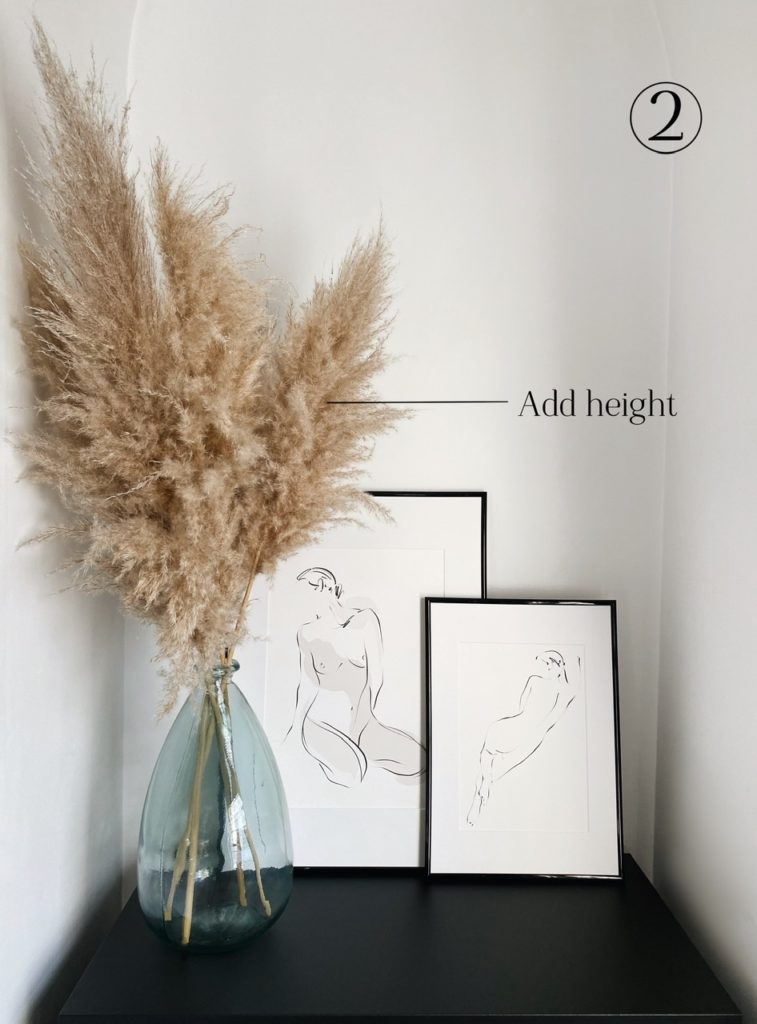
If you’ve chosen to use just one A4 print try adding something taller to the space. Due to the height of our bedroom I have chosen to use these beautiful pampas stems from Berry’s and Grey (gifted) as our tallest point. This draws the eye up creating more visual interest.
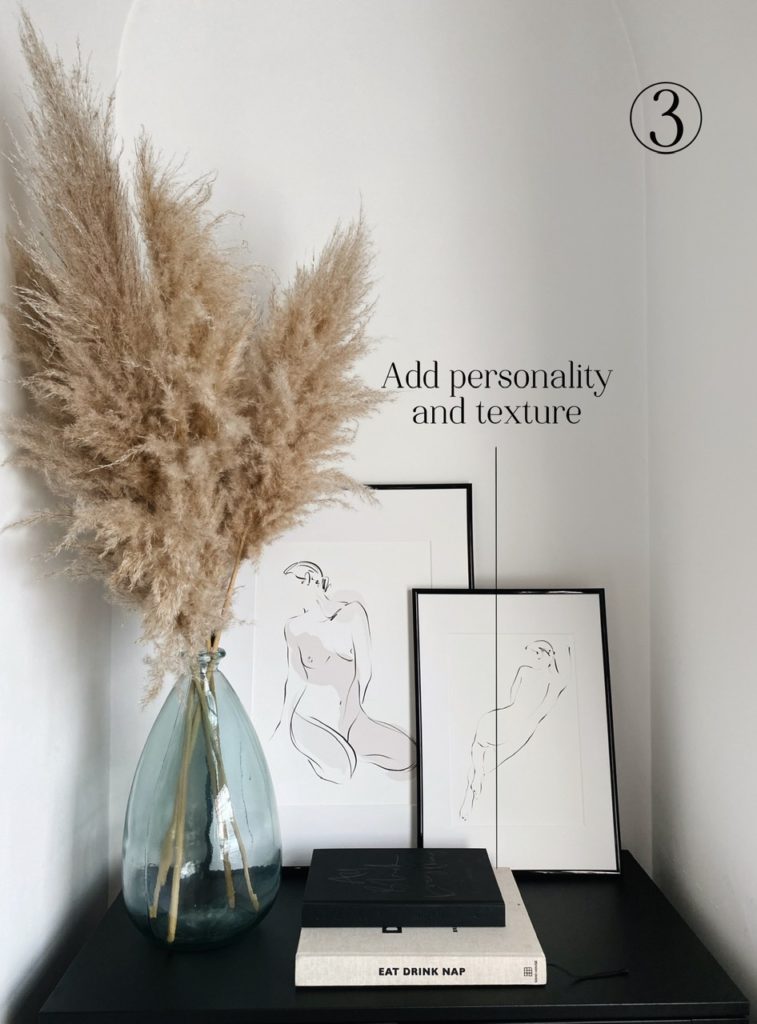
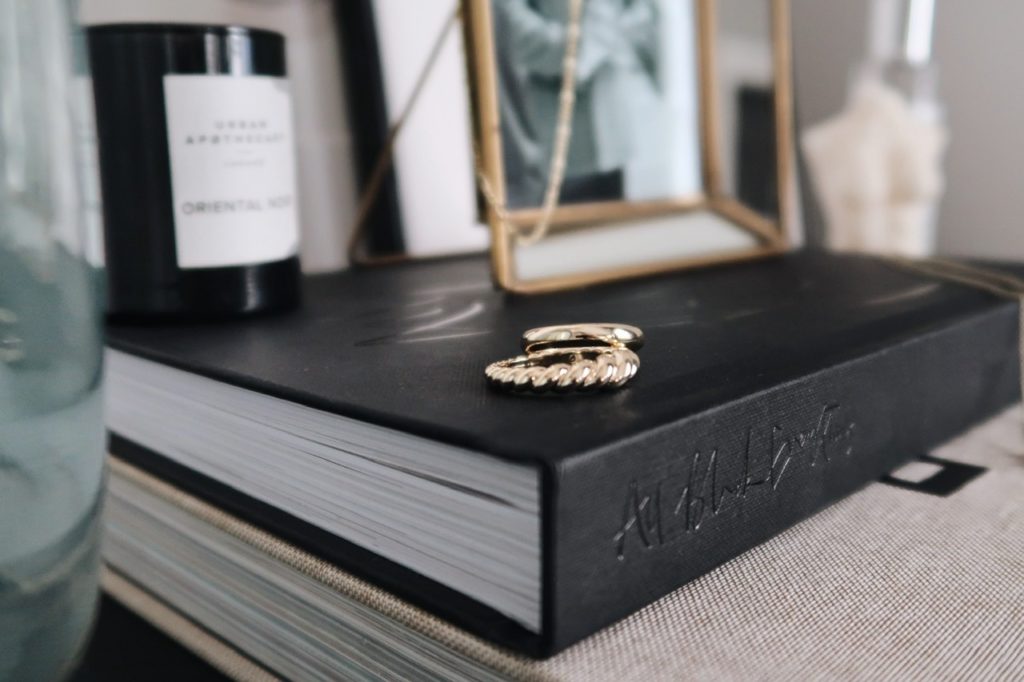
Next, go low, there’s nothing better than a stack of books by your bed and when it comes to styling they’re a great way to add texture, colour and personality to your space. Here I’ve styled my own book All Black Everything with a copy of Eat Drink Nap by Soho House. The two covers compliment and contrast perfectly and go with my chosen colour palette of neutrals and black.
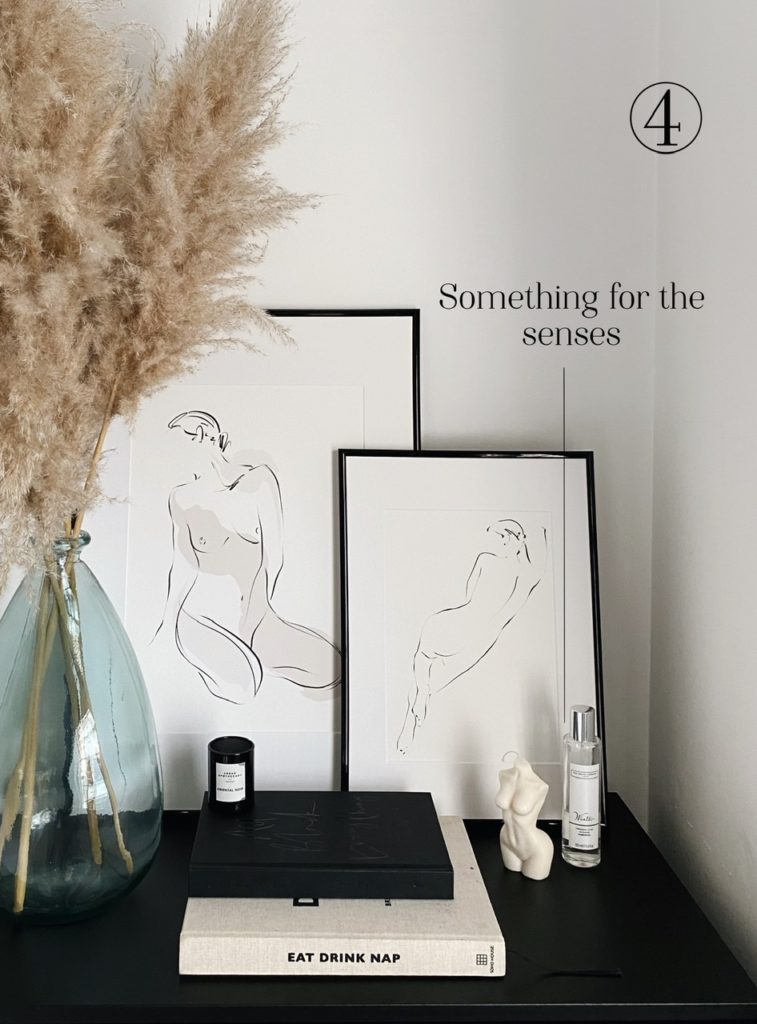
I love scented candles and room sprays and I have them scattered around our home, they’re also perfect for styling and creating ambience to your space. Oriental Noir from Urban Apothecary is such a beautiful fragrance at this time of year and it’s monochrome style keeps it on theme. I’m also utterly obsessed with the White Companies Winter Home Spray and would have a bottle of this in every room if I could. The final addition isn’t scented but how could I not include the gorgeous female torso candle by Belle Nous.
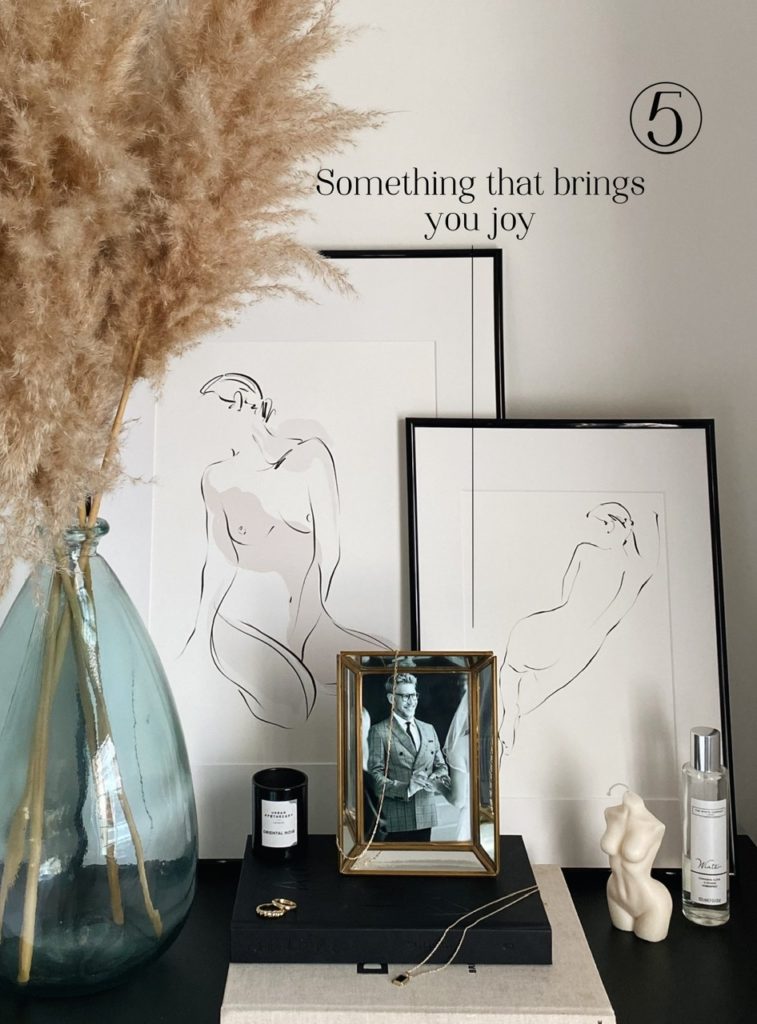
This is your space, so add something personal like jewellery or a special photograph that instantly brings you joy. (You can see more on the beautiful pieces of jewellery I’ve featured here and find out how you can save 10% with my exclusive discount code.)
Now it’s time to sit back and enjoy, and maybe take a picture or two for Instagram; if you do please tag me at @sally_faye, I would love to see them in their new homes.
SF x


